Key takeaways
- I teach a few restaurant tricks (jacquarding, baking soda in the marinade, and a craggy dry mix) that lock in tenderness and maximize crunch.
- Potato starch + a thin batter + small “craggy” bits = the clingiest, longest-lasting crunch you can get at home.
- The sauce is bright, sticky, and balanced—simmer it until it leaves a trail, then toss fried chicken for just a few seconds so some pieces stay crisp.
I made a video showing every step to turn ordinary chicken into impossibly crunchy takeout-style General Tso’s. If you like bold, practical cooking recipes, healthy foods tips and want to reproduce restaurant results at home, this write-up walks through the entire process—from prep to plate—so you can nail it on the first try.

Step 1: Prep the chicken (why smaller, why the jaccard)
Start with 1 lb (≈450 g) boneless skinless chicken breast (thighs can work, but breasts are easier to cut evenly and—surprisingly—hold breading better here). I jab each breast about 10 times per side with a jaccard. No jaccard? Use a sharp fork and pierce 20–30 times per side.
This mechanical tenderizing breaks fibers, reduces contraction at high heat, and keeps the meat juicier. Slice each breast into 3–4 long strips, then cut those into ~3/4" cubes—smaller pieces increase surface area for breading and will grow about 50% during the process.
Marinade (mix and rest)
- 30 g soy sauce
- 30 g mirin
- 2 g MSG (optional)
- 2 g baking soda
- 30 g potato starch (or cornstarch)
Mix the chicken and marinade thoroughly and rest for 20 minutes. The baking soda raises pH and inhibits protein tightening, which is why lean breast stays tender and juicy.
Step 2: Make the dredge, batter, and craggy bits
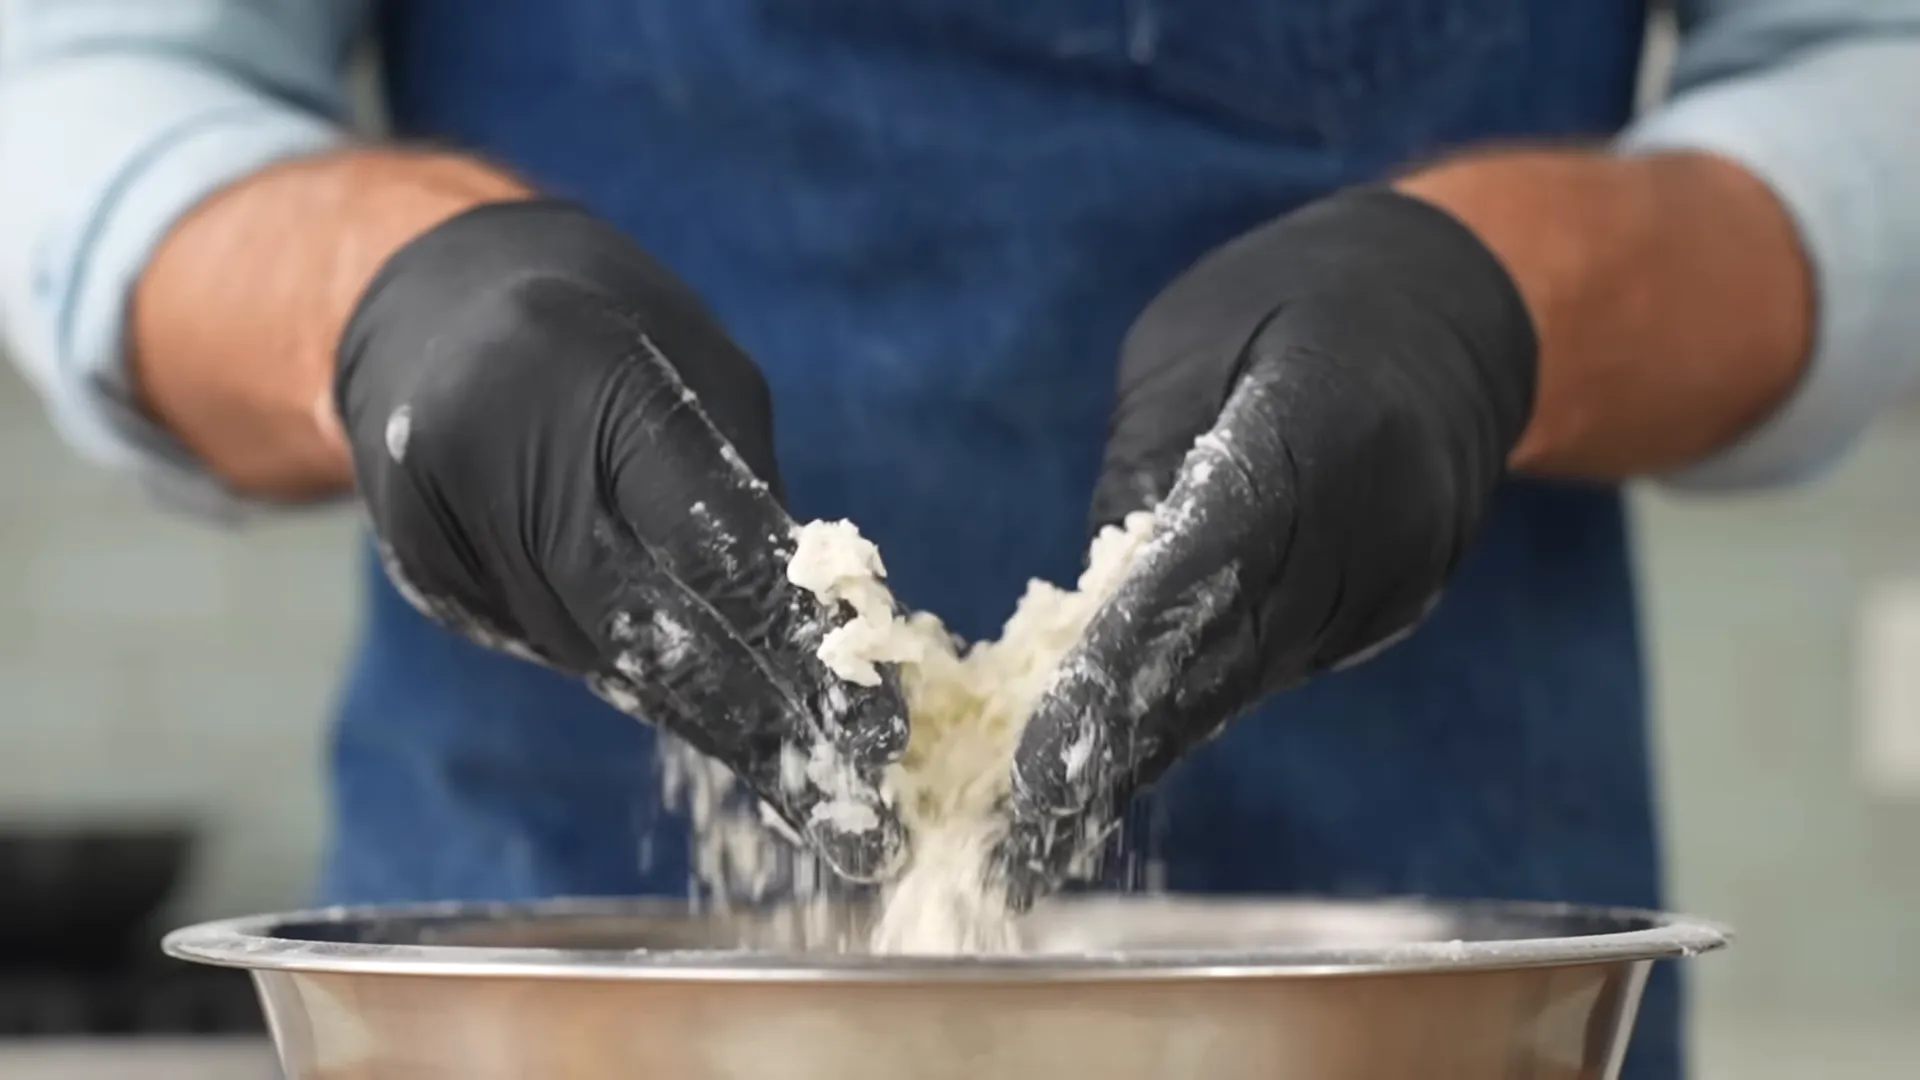
The secret here is texture layering. You need a thin batter that glues to the meat, plus a dry mix that contains thousands of tiny, partially hydrated pebbles—the “crags”—that fry into long-lasting crunch.
Dry mix
- 350 g all-purpose flour
- 10 g baking powder
- 8 g garlic powder
- 20 g salt
- 350 g potato starch (my secret weapon)
Potato starch fries ultra-crispy, absorbs less oil than flour, and browns slower so the coating dehydrates better—perfect for Asian-style fried chicken.
Batter (adhesion base)
- 250 g of the dry mix
- 300 g water
Stir to a thin pancake-batter consistency. Then pour 200 g of that batter into the remaining dry mix and use your hands to crumble until you’ve got rice-to-lentil sized pebbles spread across a powdery background. These craggy bits are the crunch makers—don’t skip or skimp.
Step 3: Bread the chicken (build layers, rest)
- Gently toss about a third of the marinated chicken in the batter—be gentle so you don’t scrub off the marinade.
- Let excess drip, then drop the pieces into the craggy dry mix. Lift/tumble from the bottom to form a base layer.
- Grab each piece and shower with extra craggy bits while giving a soft squeeze to help adhesion. Shake off excess.
- Place breaded pieces on a sheet and refrigerate uncovered for 20 minutes. This hydrates the outer starch and boosts adhesion by ~30–50%.
This layered approach—marinade, batter, craggy dry—produces coating that stays glued to the meat and fries into a deep, enduring crunch every time. If you follow these steps, your home-cooked version will rival any mall takeout.
Step 4: Make the General Tso’s sauce
Whisk together:
- 60 g soy sauce
- 30 g sesame oil
- 60 g mirin
- 45 g rice vinegar
- 30 g sambal oelek (or sriracha)
- 20 g ketchup
- 70 g sugar + 10 g brown sugar (total sweet)
- 10 g cornstarch
- 1 g MSG (optional)
Set aside so sugar and cornstarch can dissolve. You’ll add grated garlic (20 g) and ginger (20 g) in the wok during the finishing step.
Step 5: Fry the chicken (temperature and timing)
Heat neutral oil (peanut or canola) to about 325°F in a pot with 1.5–2" depth (never fill more than half the pot). Fry in two batches to keep oil temp steady and avoid crowding.
- Lower chicken gently; don’t touch for at least 60 seconds while the coating stabilizes.
- After the first minute, nudge pieces gently to prevent sticking—be gentle; the crust is still fragile.
- Fry 6–7 minutes total per batch until deeply golden.
- Drain on a wire rack or paper towel-lined tray.
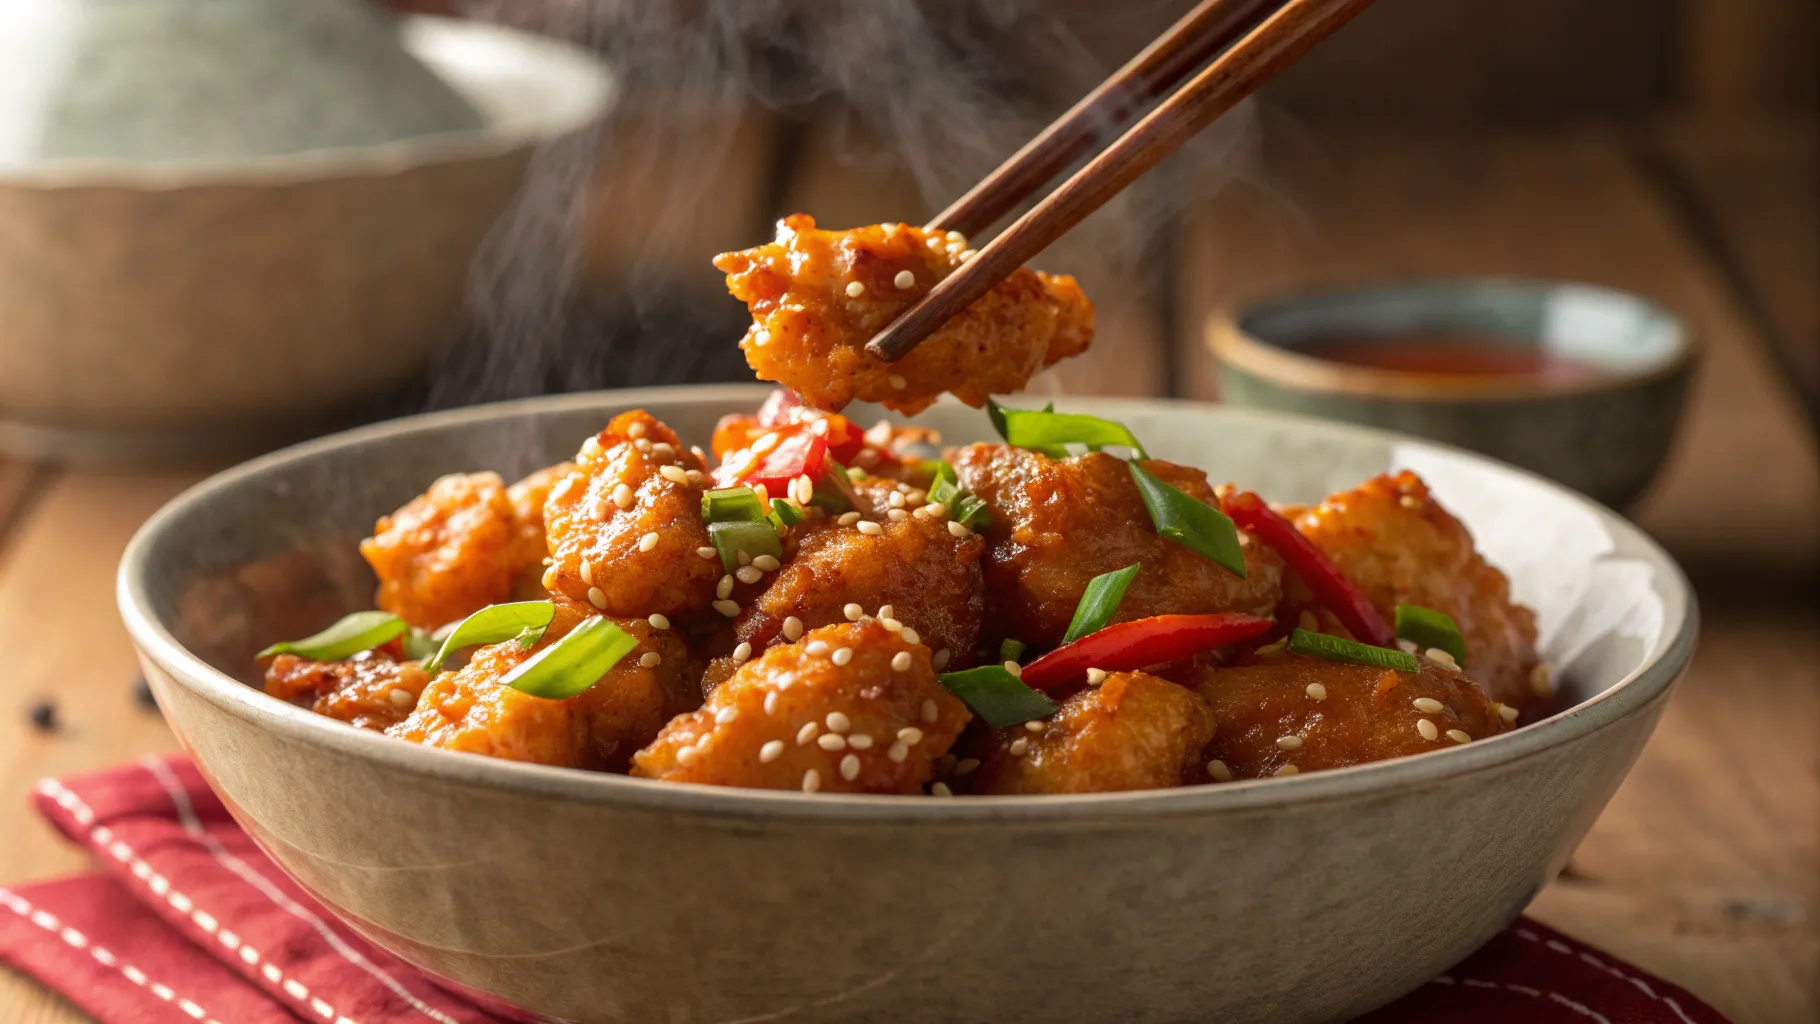
These come out looking gloriously “McNuggery” — perfectly breaded and with a deep crunch that lasts through many chews.
Step 6: Stir-fry, glaze, and finish
- Move the hot oil pot off the stove, heat a wok or large nonstick pan on high, and add a splash of oil.
- Stir-fry scallion whites (40–50 g) for ~60 seconds.
- Add cracked, deseeded chiles de árbol (5–8) for a minute to infuse the oil (optional).
- Add 20 g grated ginger and 20 g grated garlic; stir constantly 30–60 seconds until fragrant but not burnt.
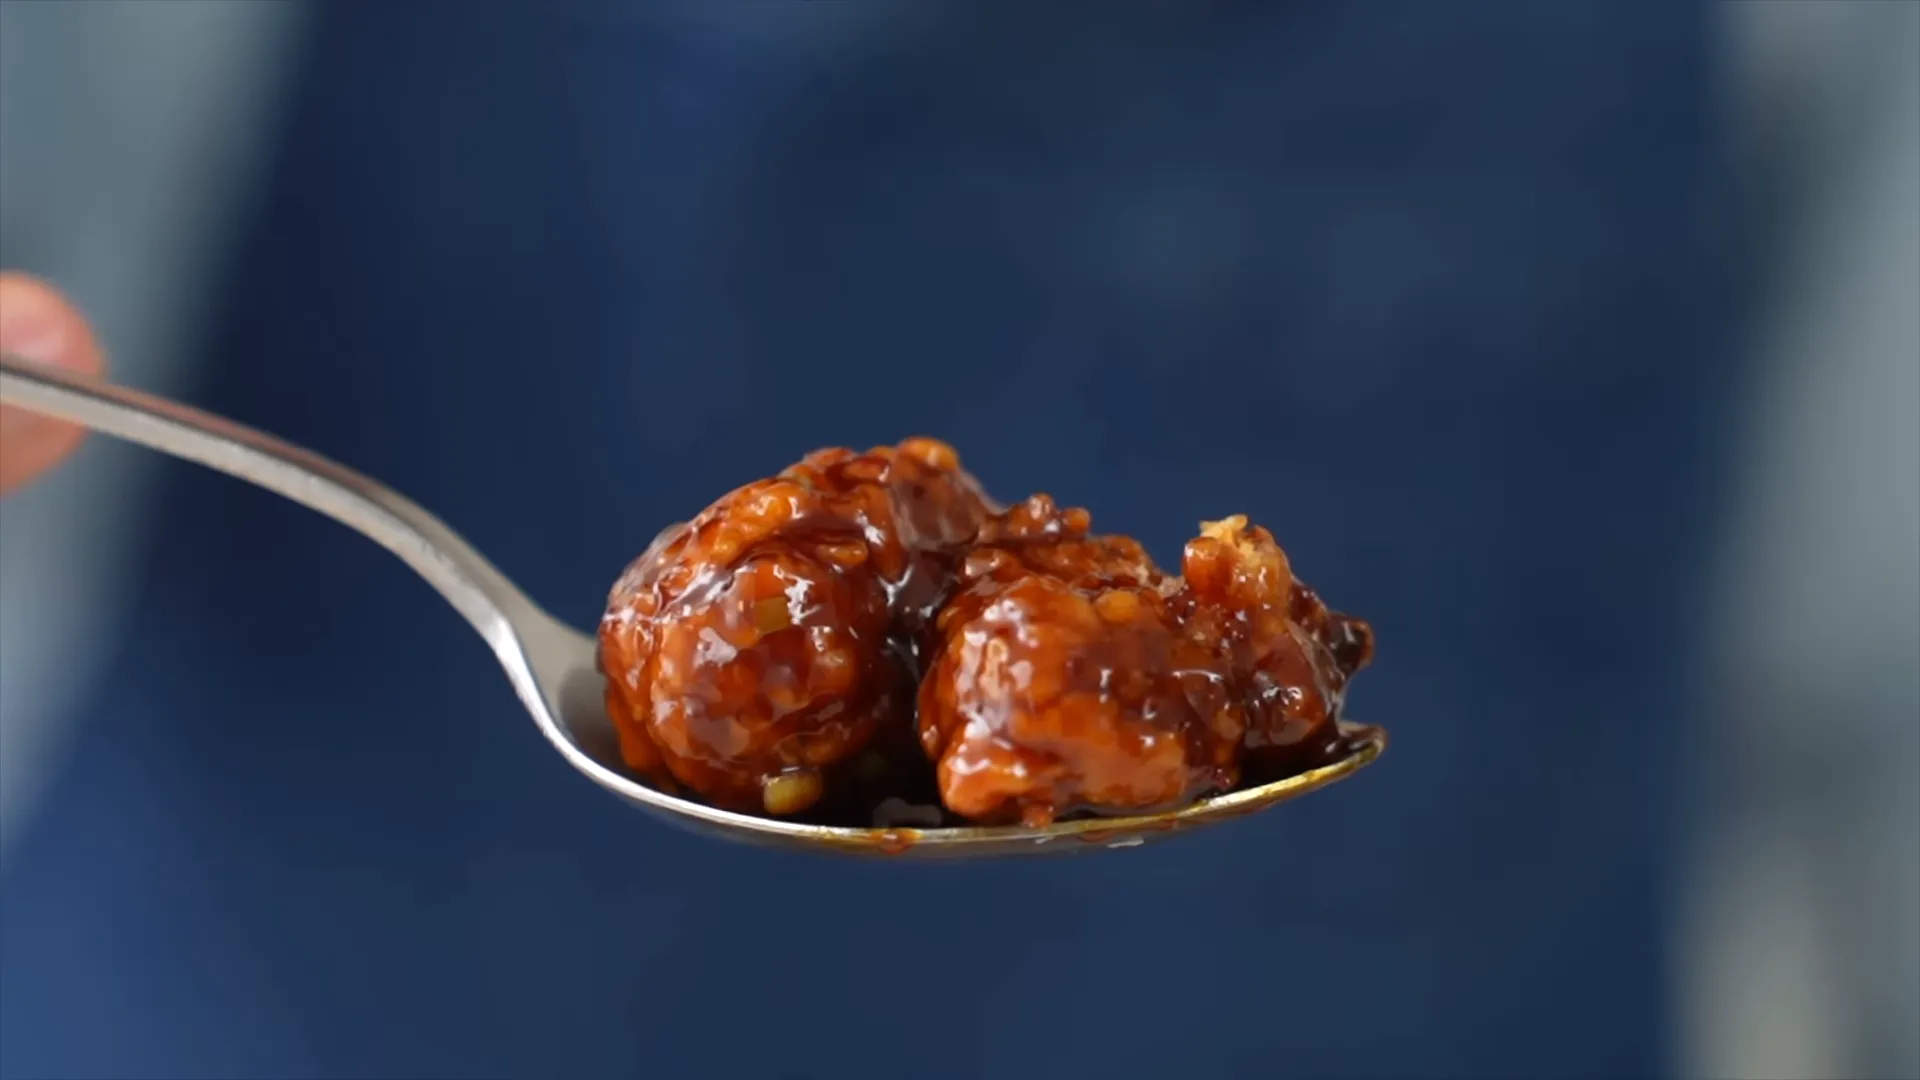
- Pour the sauce around the hot edge of the wok to catch a bit of caramelization. Boil and reduce until it’s thickened by ~15–20% and leaves a trail.
- Add the fried chicken and toss over high heat for just a few seconds—enough for the coating to drink the sauce but not long enough to flatten every crisp spot.
The result is a shiny, sticky, balanced sauce that’s sweet, savory, with a lively ginger brightness and a faint ketchup note for familiarity. Some pieces will be damp and saucy, others perfectly crisp—variety is the point.
Serving
- Serve over steamed rice.
- Garnish with the reserved dark scallion greens.
- If you want extra sauce, spoon the leftover glaze over rice only—preserve as much texture as possible on the chicken itself.
If you’re experimenting with cooking recipes, healthy foods ideas, keep in mind this recipe is about technique more than health claims: the tips here (jaccard/piercing, baking soda, potato starch crags, chilled rest) translate to other fried proteins and help cut waste by boosting yield and texture.
Make a batch on a slow Saturday and you’ll understand why this version “ruins takeout forever.” It’s time-consuming but absurdly rewarding. Try it, tweak flavors to your taste, and enjoy the crunch.
"The breading stays totally stuck onto the chicken. It's insanely crunchy." — me


0 comments:
Post a Comment