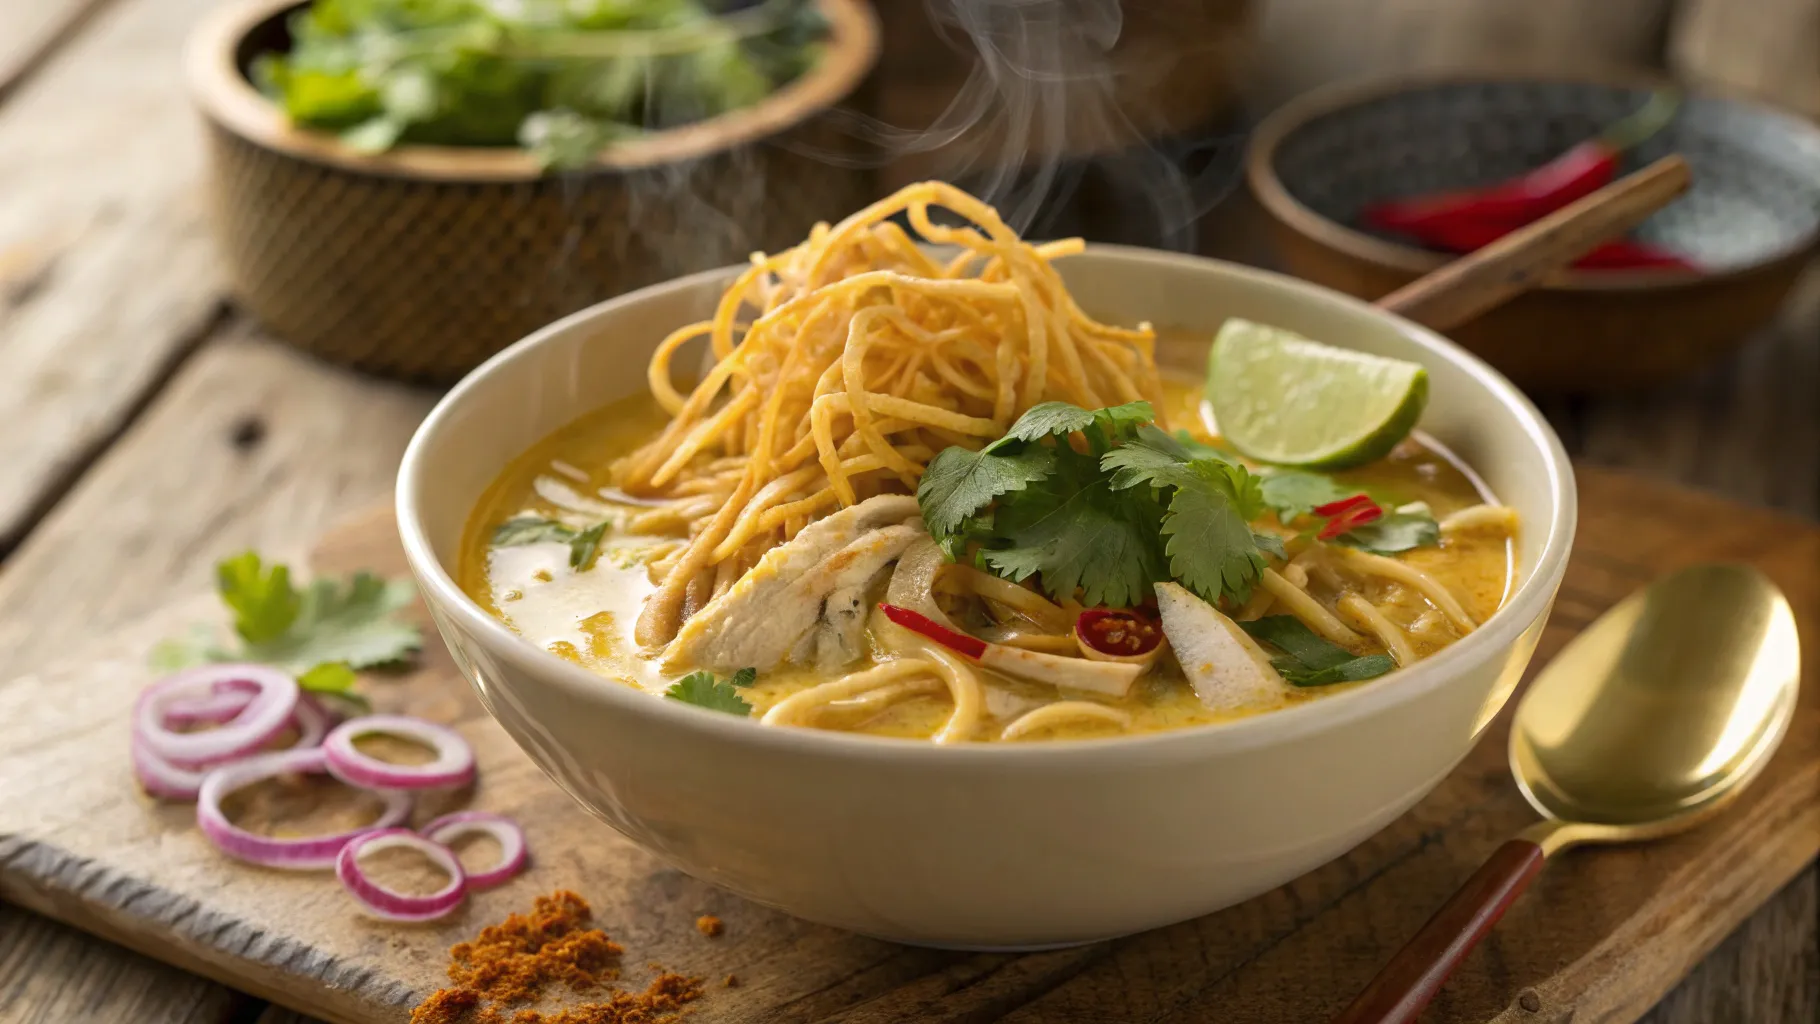
In my video I show three ways to turn a 20‑cent block of instant ramen into weeknight dinner gold. These cooking recipes, healthy foods hacks are built for speed, pantry supplies, and the exact kind of low-energy, high-flavor cooking that saves nights when nothing else is happening in the fridge.
Below are step‑by‑step recipes for: a quick‑and‑dirty pad Thai riff, a crispy anchovy‑panko pasta mashup, and a spicy chilled Korean bibim‑style noodle. Each recipe makes one hearty portion and can be doubled or tripled if you’ve got the pan space. Keep reading for ingredients, timing, and the tiny technique details that make each version sing.
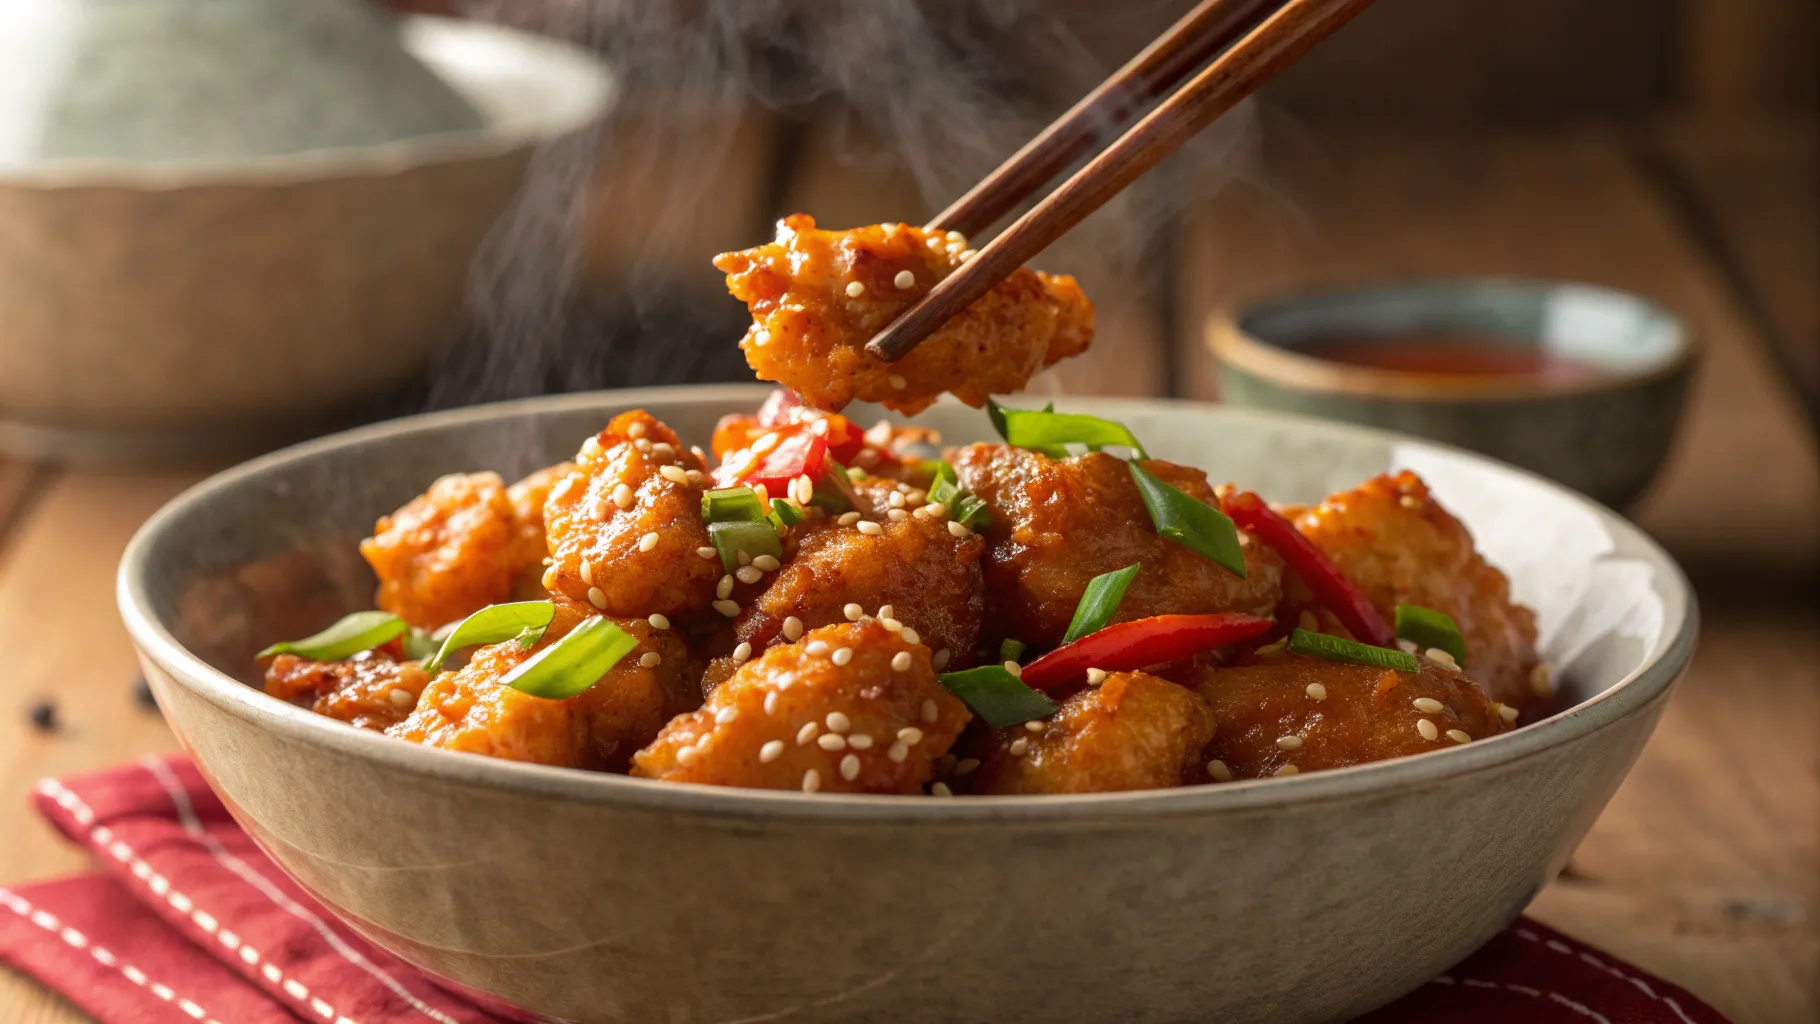
Step 1: Quick‑and‑Dirty Pad Thai Ramen
This is the cheat‑code Pad Thai that leans on pantry staples. Yes, ketchup is doing heavy lifting in place of tamarind—don’t judge it until you try it.

Ingredients
- 15g fish sauce
- 5g rice vinegar
- 10g ketchup
- 15g brown sugar
- 5g peanut butter
- 30g peanuts, roughly chopped and sifted
- 20g scallion greens, thinly sliced
- 10g ginger paste & 10g garlic paste (or fresh)
- pinch chili flake
- 1 large egg
- 15 mL neutral oil
- 350g water
- 1 block instant ramen (discard seasoning)
Method
- Whisk fish sauce, rice vinegar, ketchup, brown sugar and peanut butter until sugar dissolves. Set aside.
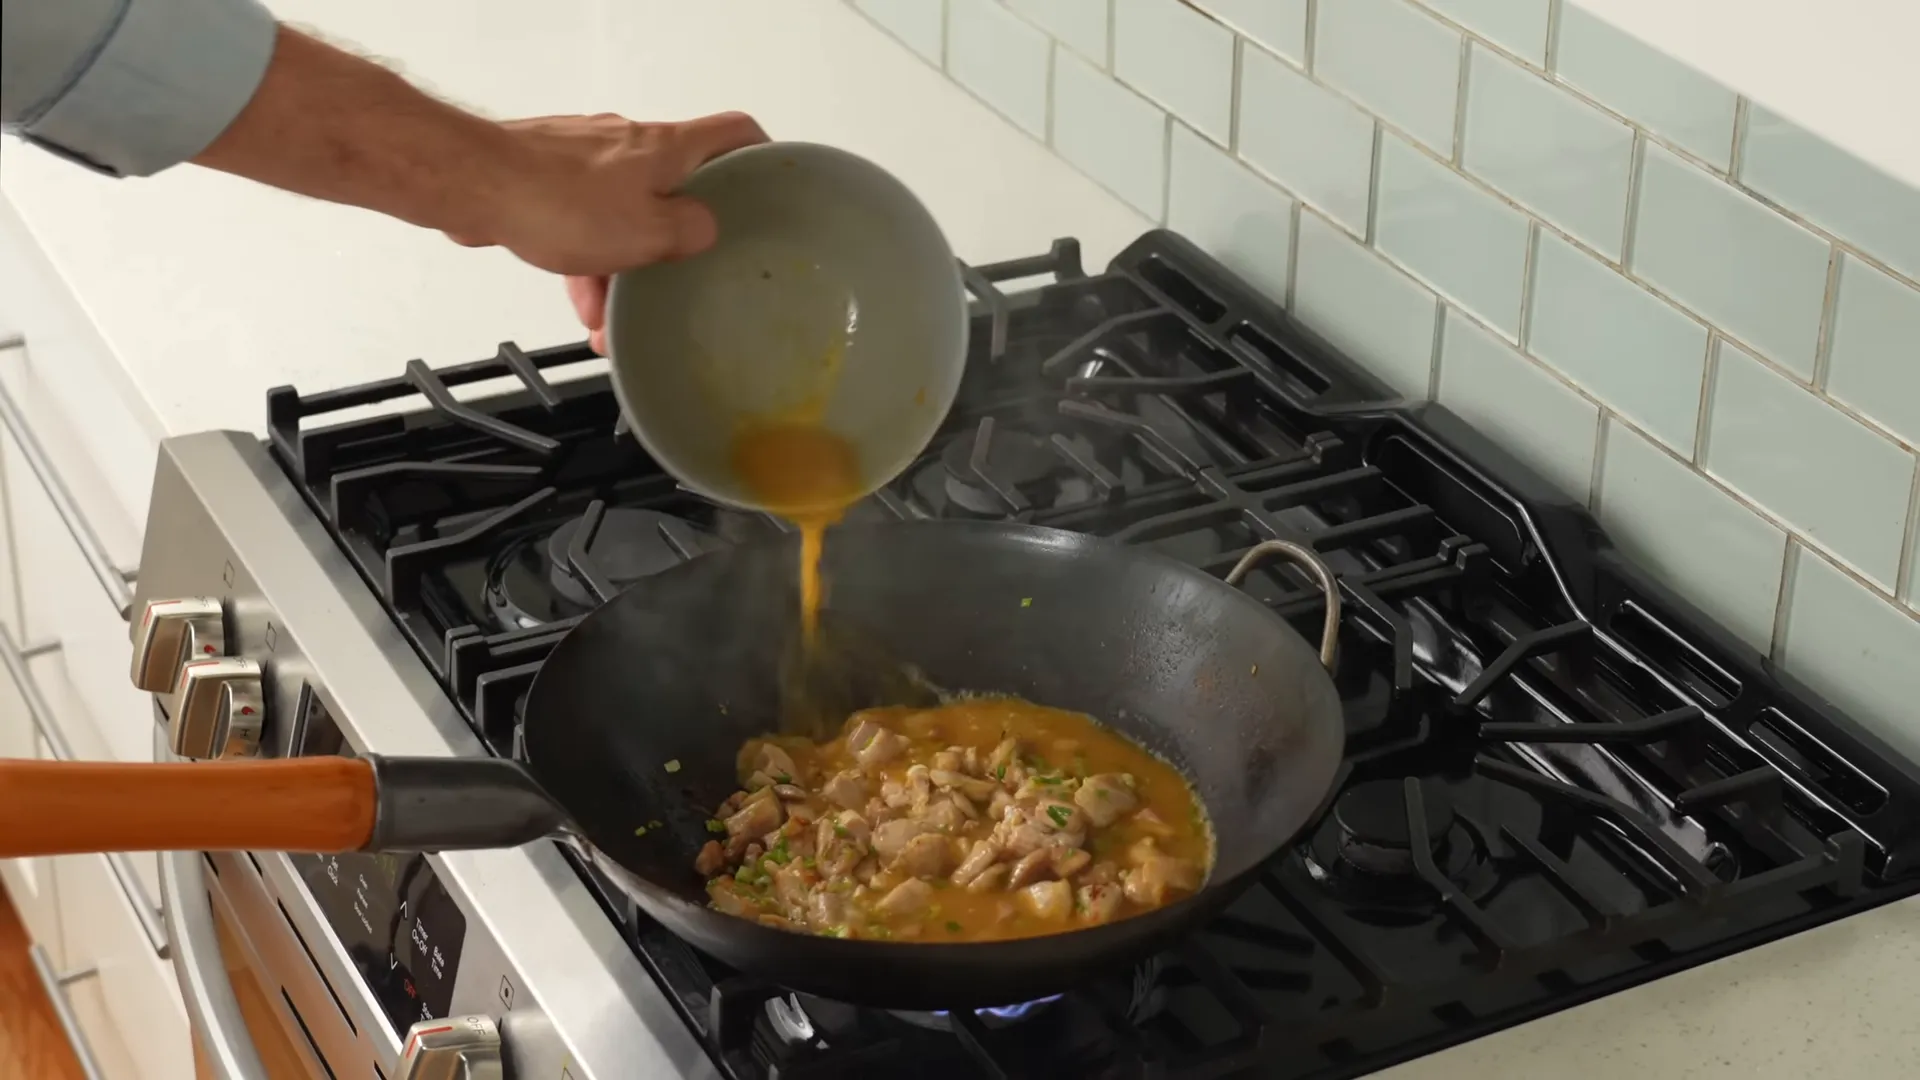
- Heat half the oil in a wok or wide nonstick pan over medium‑high. Add beaten egg with a pinch of salt; let set ~15 seconds then scramble to ~90% cooked. Transfer to your serving bowl to save dishes.
- Return pan to heat, add remaining oil, then ginger paste, garlic paste and chili flake. Sauté ~30 seconds while stirring constantly (tubed pastes burn fast).
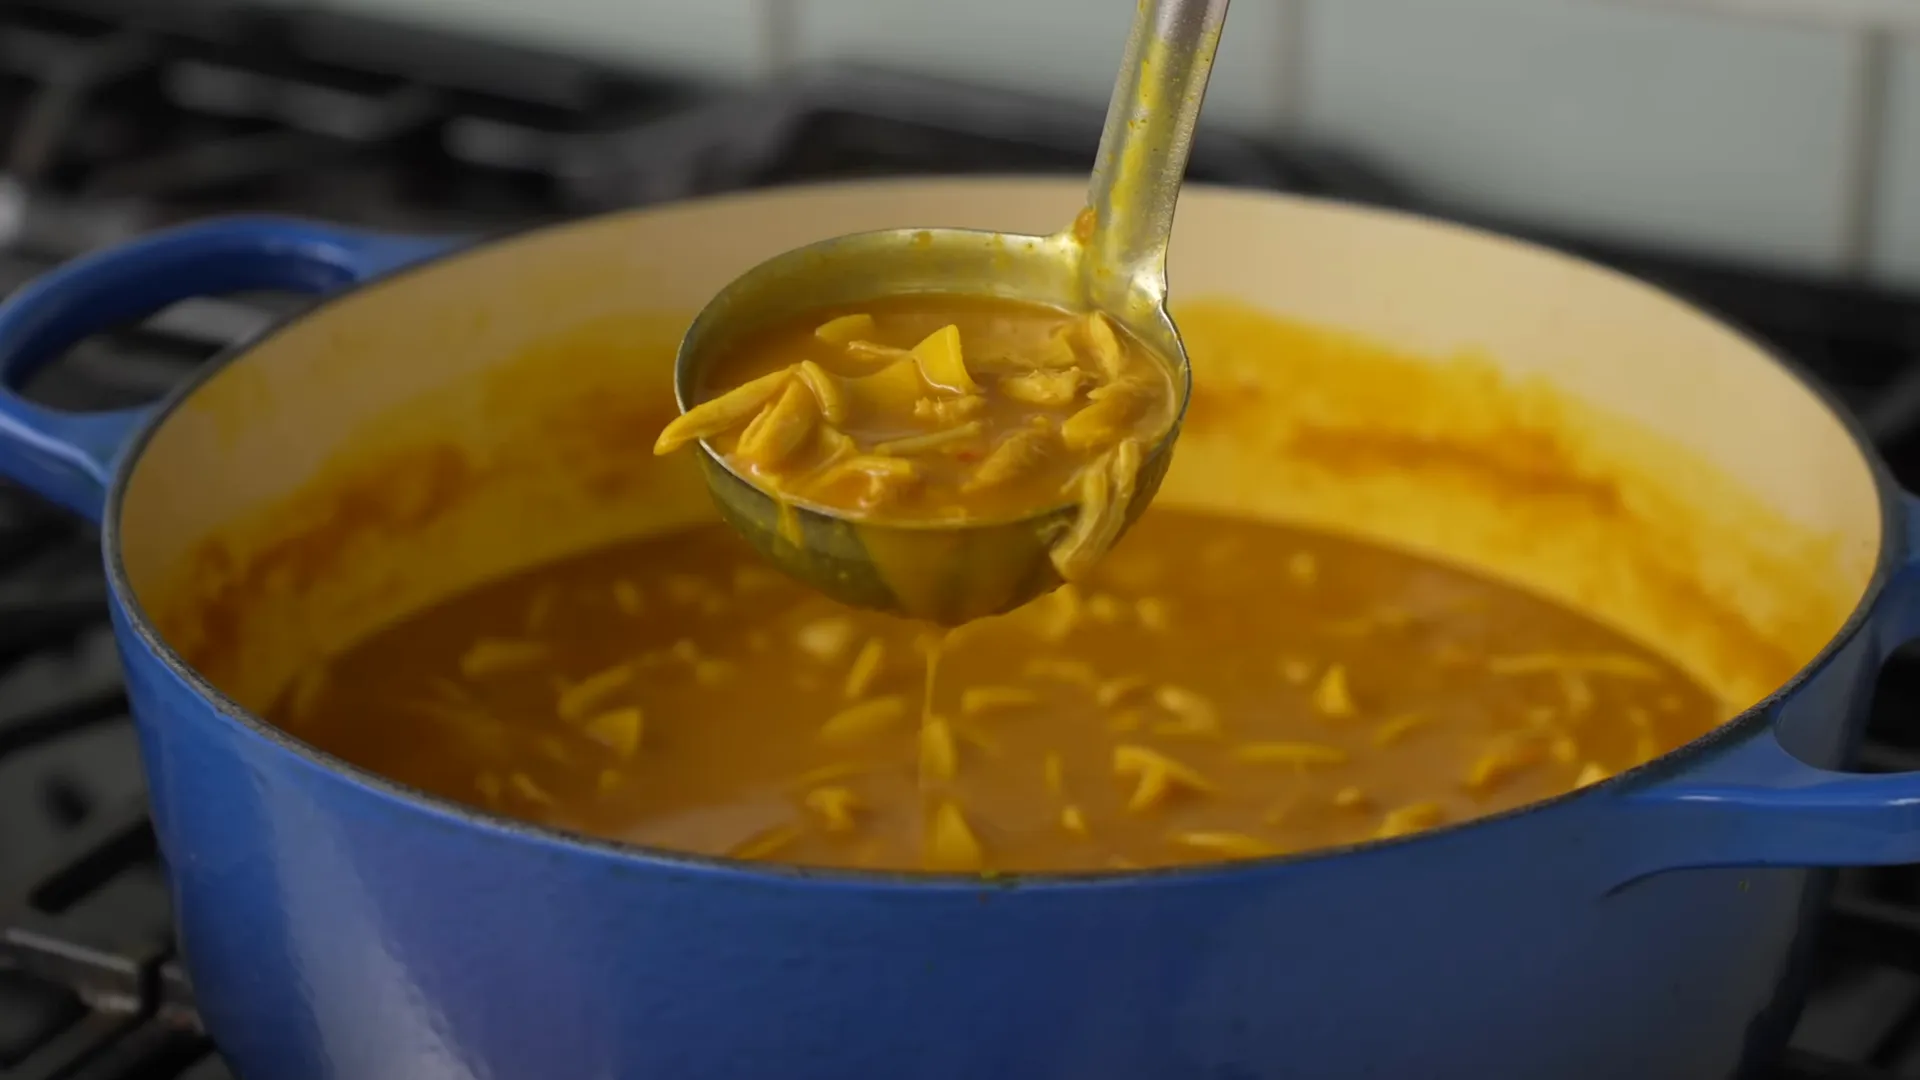
- Pour in the sauce and 350g water. Bring to a boil, add the ramen block, simmer 1 minute, then flip like a book so noodles submerge. Stir apart and cook ~3 more minutes until tender and sauce reduces to a glossy glaze.
- Fold scrambled egg, scallions and chopped peanuts into the noodles. If sauce is loose, reduce another minute or let noodles soak—the noodles are thirsty.
- Serve topped with extra peanuts and scallions.
Why this works: the ketchup + fish sauce + peanut butter combo creates fruity, savory, and nutty layers fast. The straining step for peanuts is optional but prevents gritty texture from peanut powder.
Step 2: Anchovy‑Panko Ramen (Cacio‑Pepe + Puttanesca vibes)
This is late‑night genius: crunchy toasted panko, melted anchovy flavor, butter and Parmesan for a glossy finish. It’s one of my signature dishes and a terrific example of pantry pantry alchemy—another winner in the cooking recipes, healthy foods playbook.
Ingredients
- 30g olive oil
- 100g panko breadcrumbs
- 15g sliced garlic (5–6 cloves)
- 30g finely diced red onion or shallot
- 15g chopped anchovy fillets (5–6)
- pinch salt & big pinch chili flake
- 350g water
- 1 block instant ramen
- 20g unsalted butter
- 10g finely grated Parmesan (+ extra to serve)
- fresh cracked black pepper
Method
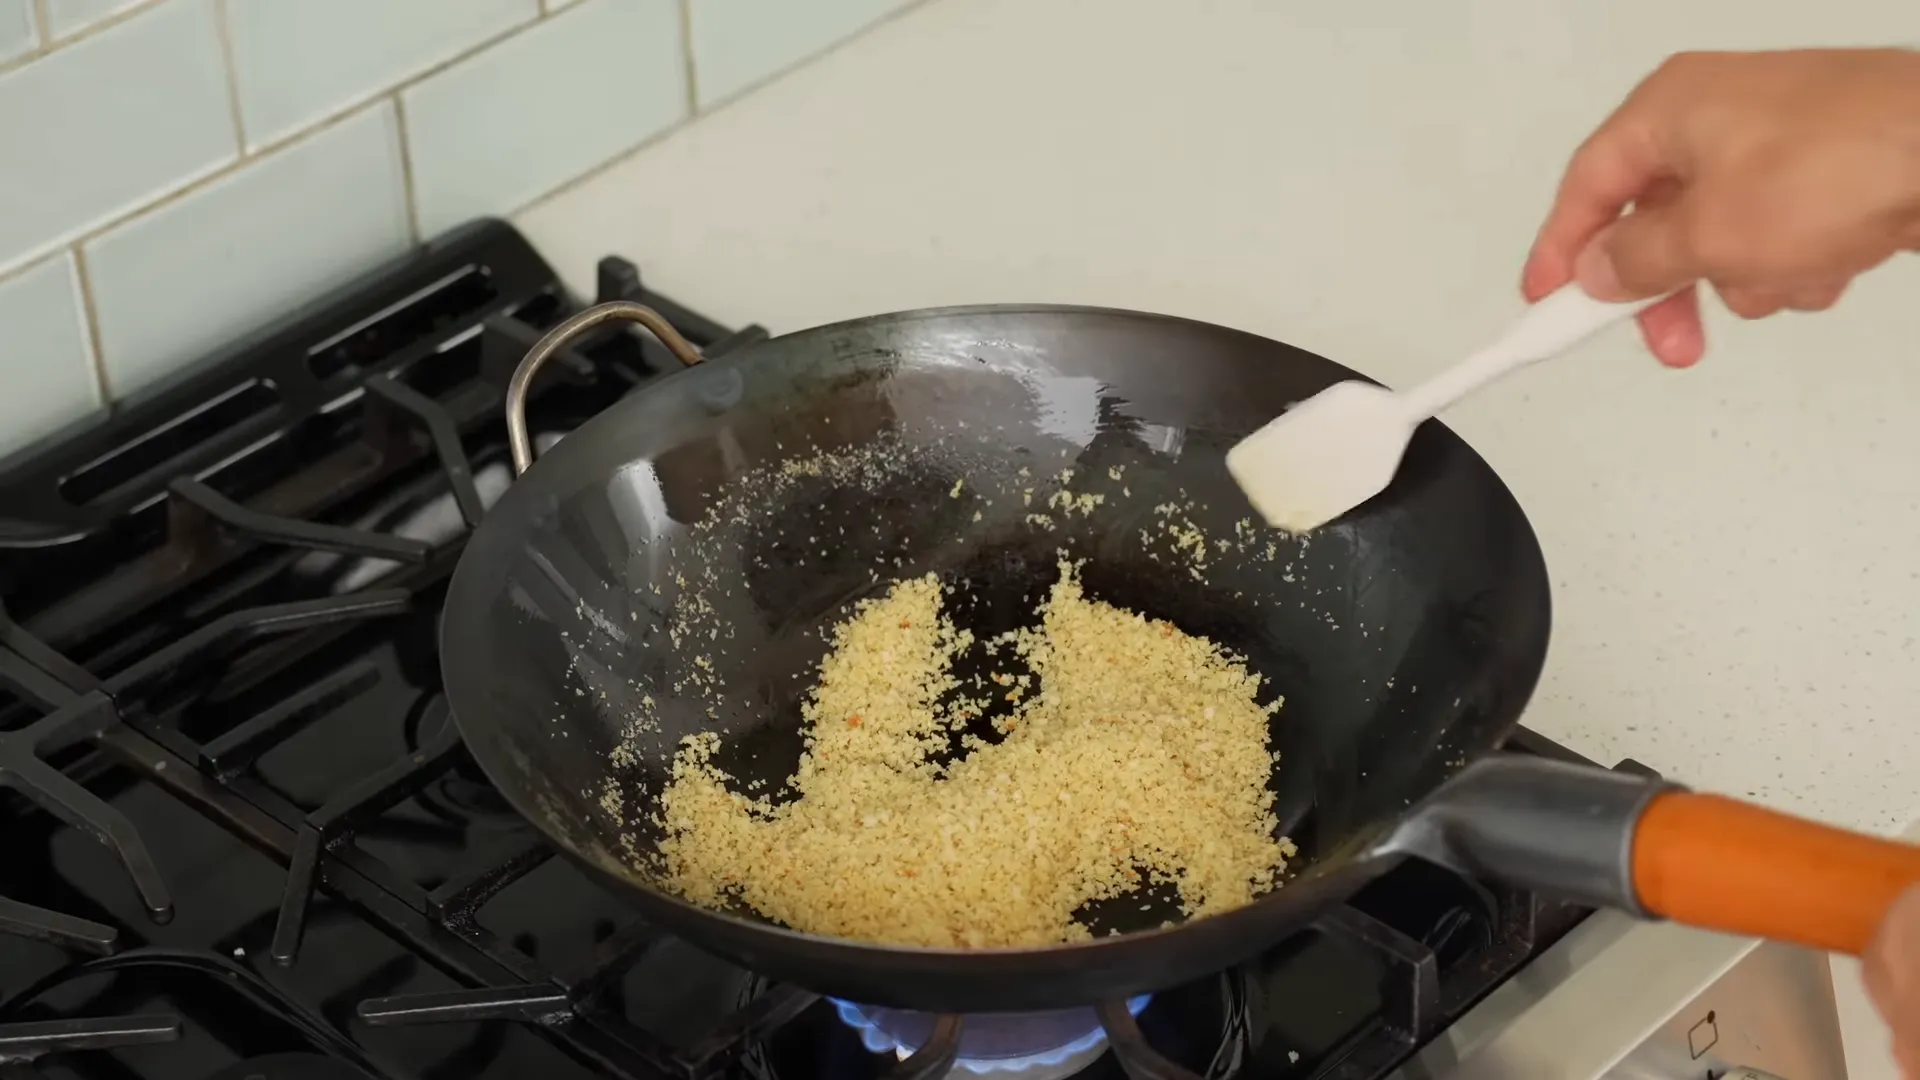
- Heat oil in a wide pan. Add panko and stir constantly until deep golden, ~2–3 minutes. Drain onto paper towel—extra panko stores airtight for weeks.
- Wipe the pan, add a splash of oil, then garlic, onion and anchovy with a pinch of salt. Sauté until onion softens and anchovies melt into the oil, ~2 minutes. Add chili flake and fry 30 seconds.
- Add 350g water, bring to boil. Drop in ramen block, cook 1 minute, flip like a book, then cook ~3 minutes until most liquid is absorbed and noodles are al dente.
- Turn off heat, add butter and stir vigorously to release starches—this emulsifies the sauce. If it tightens too much, splash a spoon of water. Stir in Parmesan until glossy.
- Serve topped with toasted panko, extra Parmesan and a heavy grind of black pepper.
Tip: anchovies don’t make this taste fishy—they melt into warm umami notes. Ramen as pasta is shockingly excellent here: bouncy, quick, and thirsty for sauce.
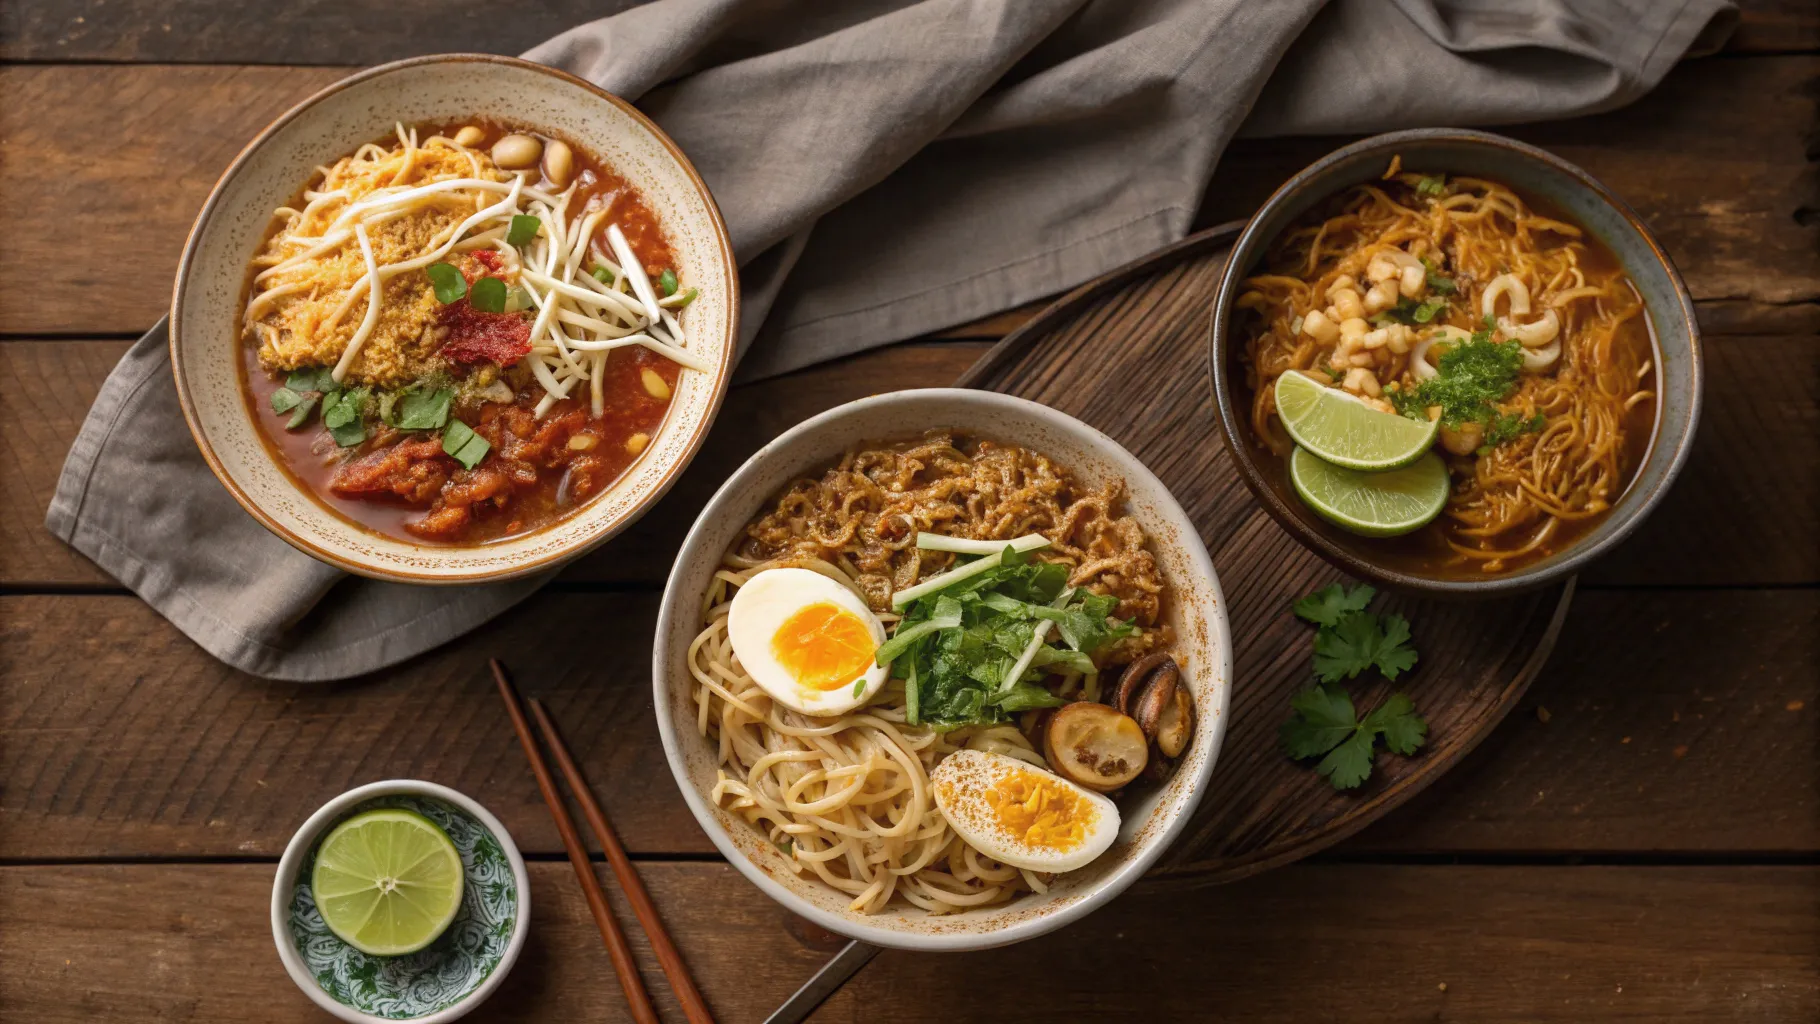
Step 3: Spicy Chilled Korean Noodles (Bibim Guksu‑Style)
Bright, spicy, cold—this version is fantastic for hot nights or when you want something visually striking with minimal effort. It’s one of the easiest and most rewarding recipes in this set of cooking recipes, healthy foods options.
Ingredients
- 1 block instant ramen (or 100g any thin noodle)
- 20g gochujang
- 15g soy sauce
- 5g sesame oil
- 5g rice vinegar
- 10g honey
- 10g kimchi juice
- 5g gochugaru or sweet paprika
- 50g well‑fermented kimchi, julienned
- 40g julienned cucumber (or pear/apple/bell pepper)
- 15g thin scallion bias slices
- crispy seaweed & untoasted sesame seeds to finish
Method
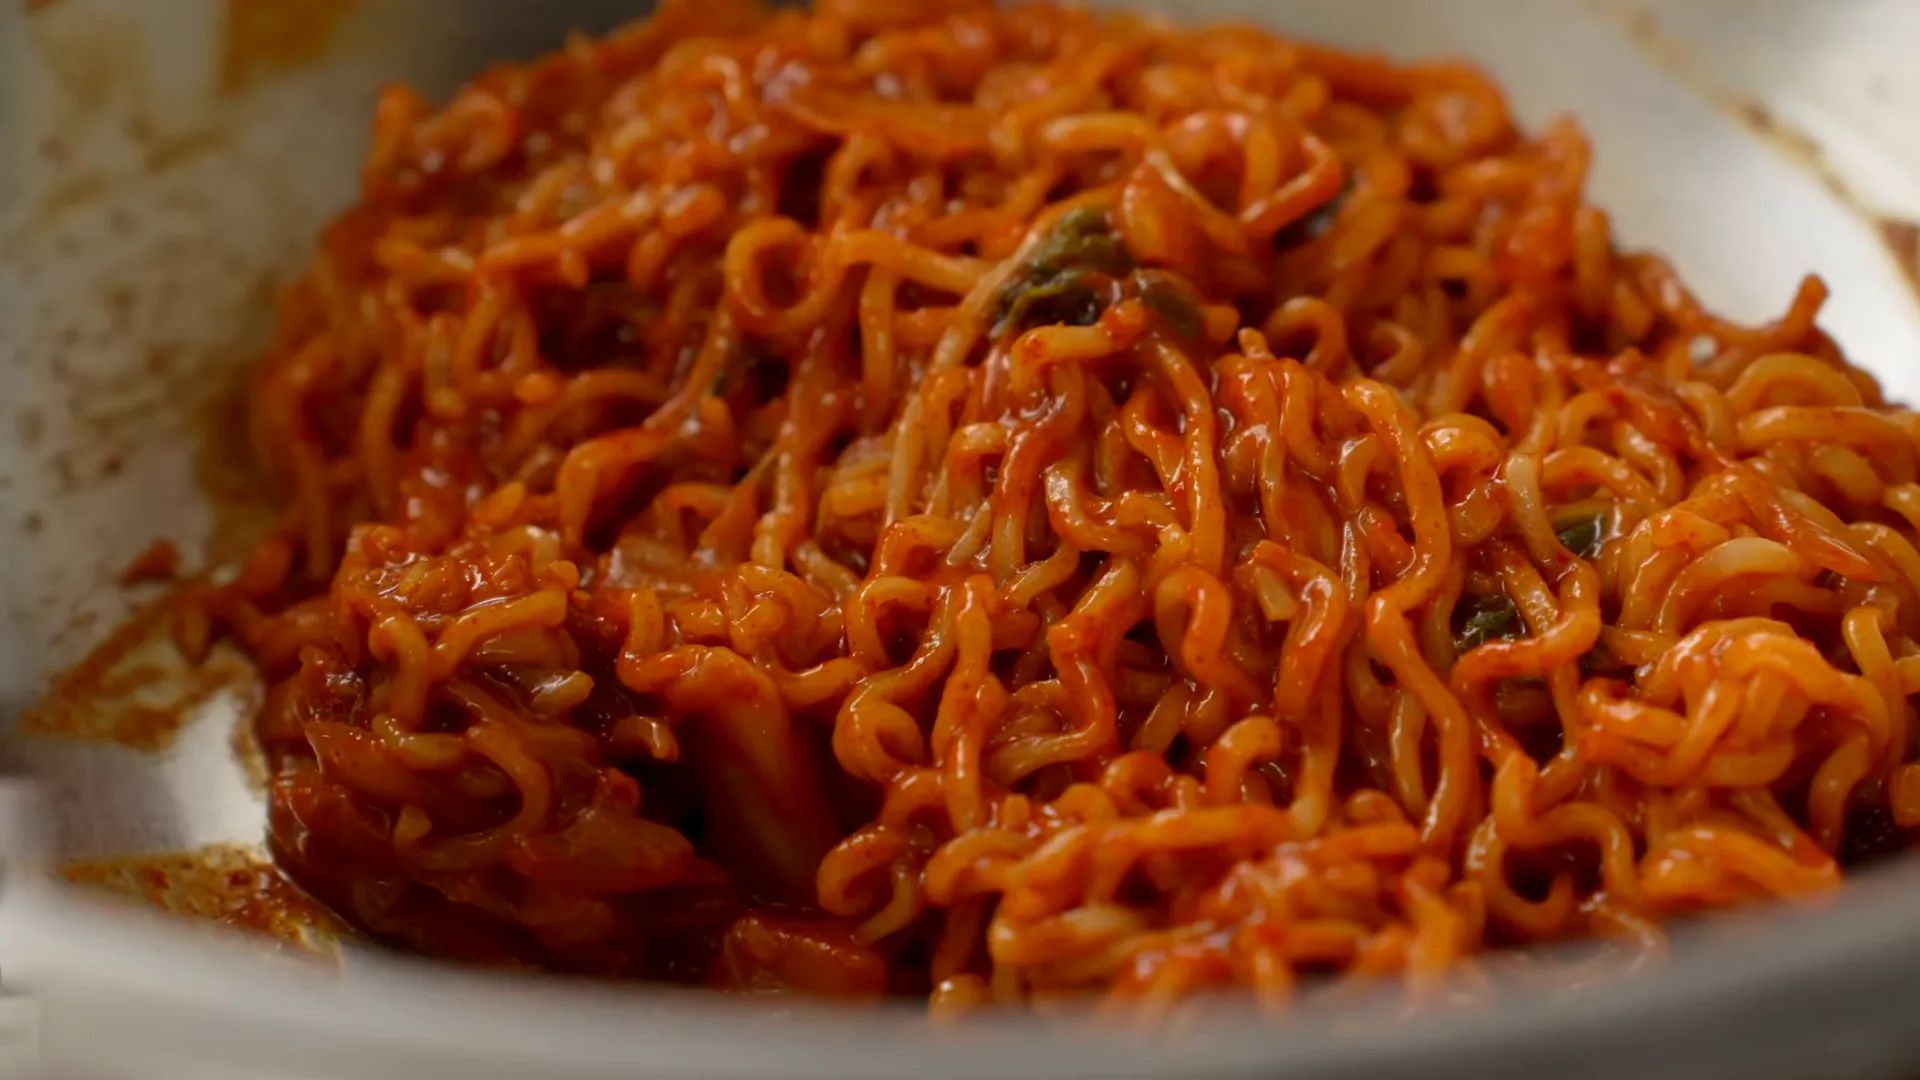
- Boil ramen 4–5 minutes until tender. Drain and rinse immediately under cold water to stop cooking, then blot on paper towels until nearly matte.
- Whisk gochujang, soy, sesame oil, rice vinegar, honey, kimchi juice and gochugaru until smooth. Add julienned kimchi to the sauce.
- Toss the chilled noodles with the sauce until every strand is coated. Mound into a bowl and top with julienned cucumber, scallions, crispy seaweed and sesame seeds. Eat cold.
Why it hits: the combination of gochujang heat, kimchi funk, and crisp cucumber is explosive for so little effort—exactly the type of low‑work/high‑flavor dish that proves pantry cooking recipes, healthy foods can still be stunning.
Try these variations and pantry swaps
- Out of anchovies? Use rinsed chopped capers in the anchovy recipe.
- No fresh garlic/ginger? Tubed pastes work fine and stay in the fridge for ages.
- Sub thin spaghetti or somen for ramen in the chilled noodle bowl.
These three recipes are built around speed, pantry staples and small technique wins. They’re designed to be the workhorse dinners you reach for when you’ve got nothing but a block of ramen and the will to eat well. Try one tonight—your future self will thank you.